
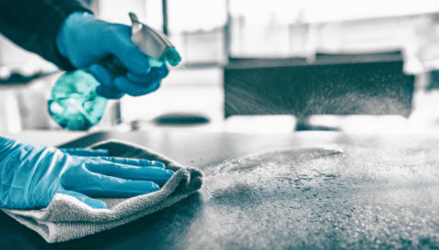
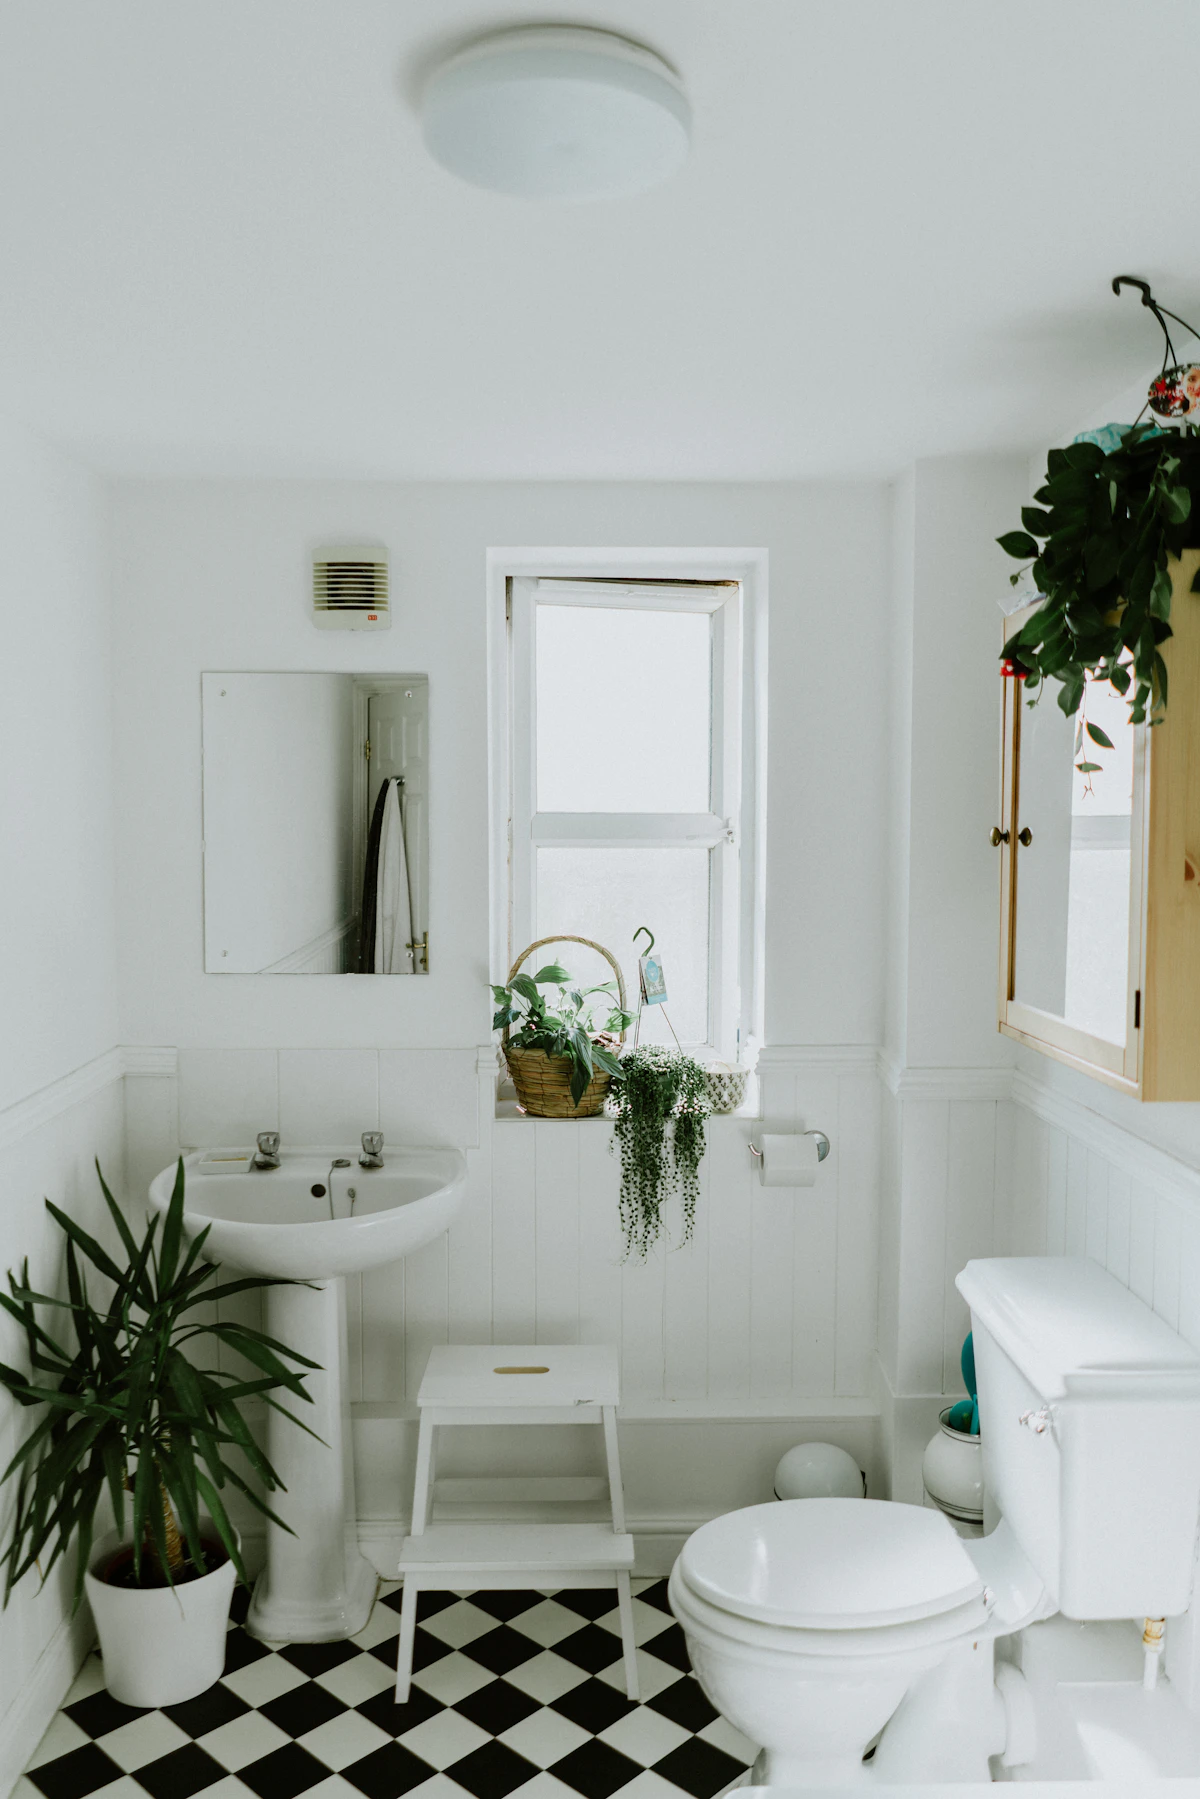
 *Photo: Unsplash*
Tile and grout seem like they should be easy to keep clean — smooth, hard surfaces with no fibres to trap dirt. In practice, grout is one of the most demanding surfaces in a Montreal apartment. It is porous, slightly rough, and sits in low spots where water, soap scum, and mineral scale accumulate after every wash. In a city where tap water runs at 90–150 mg/L calcium carbonate, that accumulation is faster and heavier than most Canadians elsewhere experience. Understanding the material you are cleaning — and the water coming out of your taps — changes your entire approach.
Why Montreal Tap Water Makes Tile and Grout Harder to Clean
Montreal's municipal water supply draws from the St. Lawrence River and, in some areas, the Ottawa River. The resulting water hardness ranges from 90 to 150 mg/L calcium carbonate across the island — classified as moderately hard to hard by Health Canada standards.
When that water evaporates off a tile surface, it leaves behind calcium and magnesium minerals as a white, chalky haze. In grout joints, which are porous and textured, these deposits accumulate deep into the surface over months. Standard dish soap and general-purpose sprays do not dissolve calcium carbonate — they push it around or coat it. You need an acidic solution to break the mineral bond.
The complication: many Montreal apartments have tile types that cannot tolerate acid. Marble, travertine, limestone, and other natural stone tiles are alkaline minerals — acid etches and permanently dulls their surface. Knowing your tile type before you clean is not optional; it is the difference between a gleaming grout line and a hazy, etched tile you cannot restore without professional honing.
Montreal Apartment Tile Types — What You Have and Why It Matters
Pre-War Triplexes (1890s–1940s)
Montreal's distinctive pre-war walk-up triplexes — concentrated in the Plateau, Rosemont, Villeray, HoMa, and NDG — typically have small hexagonal floor tiles (classic octagon-and-dot or penny-tile pattern), white subway tiles on bathroom walls, and occasionally decorative border tiles above wainscoting. These tiles are vitrified ceramic or encaustic cement and are generally durable, but the grout joints are very fine (1–2 mm) and often unsanded. Grout in 80–130 year-old joints may be friable — meaning it crumbles if scrubbed aggressively. Use only soft brushes and wrung-out cloths, never stiff wire brushes or pressure sprayers.
1950s–1970s Rental Units
Postwar bungalows in Ahuntsic, LaSalle, Pierrefonds, Kirkland, and Saint-Laurent, as well as apartment blocks from this era, typically have larger 10 × 10 cm or 15 × 15 cm ceramic tiles in bathroom and kitchen. These are standard glazed ceramic — tolerant of most household cleaners including diluted white vinegar. Grout from this era is sanded and thicker (3–5 mm joints), often still sound but stained dark from decades of use.
Modern Condos and Post-2000 Renovations
Griffintown, Old Montreal, Square-Victoria, and newer builds across the island predominantly use large-format porcelain tiles (30 × 60 cm or larger, often rectified with very fine joints) and sometimes natural stone such as marble, travertine, or limestone. Large-format porcelain is easy to clean but the fine grout joints accumulate scale proportionally faster. Natural stone requires pH-neutral cleaners only — no vinegar, no citric acid, no bleach, no grout pens.
Supplies You Need
Pick up these products at Montreal retailers before you start:
- White vinegar — 1L bottle at IGA, Maxi, Metro, or Dollarama (.50–)
- Baking soda (bicarbonate de soude) — at any grocery or pharmacy (–)
- Citric acid powder — at Jean Coutu, Pharmaprix, bulk food stores, or Canadian Tire (–/bag; far more concentrated than vinegar for heavy calcium buildup)
- Dish soap — standard Dawn or Sunlight
- Hydrogen peroxide 3% — at Jean Coutu or Pharmaprix (–; for mold in grout)
- Grout brush or old toothbrush — stiff nylon bristles; Dollarama or hardware stores
- pH-neutral tile cleaner — Stone Care International (Canadian Tire) for marble/travertine, or Method All-Purpose (IGA/Metro)
- Microfibre cloths or non-scratch scouring pad
- Rubber gloves — for hydrogen peroxide or vinegar work
- Grout sealer (optional, for annual maintenance) — Aqua Mix Sealer's Choice or Mapei Grout Sealer at Home Depot or Réno-Dépôt (5–5)
Step-by-Step: Cleaning Ceramic and Porcelain Tile (Most Montreal Rentals)
1. Dry-brush first. Before applying any liquid, scrub dry grout lines with a stiff grout brush. This dislodges loose debris, dry soap residue, and surface dust without driving moisture deeper into porous grout.
2. Pre-treat hard water deposits. Pour undiluted white vinegar into a spray bottle and saturate all tile surfaces and grout lines. Let sit for 10–15 minutes — this is the dwell time needed to dissolve calcium carbonate. Do not rinse immediately.
3. Scrub grout lines. After the vinegar dwell, scrub each grout line with the grout brush using short back-and-forth strokes along the joint. For stubborn deposits: make a thick paste of baking soda and dish soap, apply it to the grout, then spray vinegar on top (the fizzing action helps lift deposits mechanically). Scrub again immediately.
4. For heavy calcium haze on tile faces. Mix 1 teaspoon of citric acid powder per 500 ml of warm water in a spray bottle. Apply to the tile surface, let sit 5 minutes, scrub with a non-scratch pad, then rinse thoroughly. Citric acid is significantly stronger than vinegar for calcium dissolution — do not use on natural stone.
5. Rinse thoroughly. Wipe down all surfaces with a clean damp microfibre cloth, changing the cloth or rinsing frequently to avoid spreading loosened scale across tiles. A second rinse with plain water removes vinegar and soap residue.
6. Dry. Buff dry with a clean microfibre cloth or squeegee the shower walls. Residual water left to evaporate redeposits minerals immediately.
Grout Mold Treatment
Montreal's older apartment buildings — particularly basement-level units and units with poorly ventilated bathrooms — develop black or pink mold in grout joints. The pink film is typically Serratia marcescens bacteria, which grows in humid environments and rinses away with hydrogen peroxide. True black mold (Aspergillus or Cladosporium) requires a stronger approach.
Protocol: 1. Spray 3% hydrogen peroxide directly onto affected grout lines — do not dilute 2. Leave for 10–15 minutes 3. Scrub with a grout brush 4. Rinse thoroughly 5. Dry the surface immediately and improve bathroom ventilation
For recurring mold despite regular cleaning, the root cause is usually inadequate ventilation: the exhaust fan is blocked, underpowered, or absent. Under Quebec's DCC (Code de construction), bathrooms must have mechanical ventilation. In pre-1960 buildings without installed fans, a portable HEPA air mover or dehumidifier in the bathroom during and after showers can suppress mold growth.
Cleaning Natural Stone Tile (Marble, Travertine, Limestone)
Never use vinegar, citric acid, bleach, or any acidic product on natural stone. These are alkaline minerals and acid etching is immediate and permanent — the dull, slightly roughened patch that appears cannot be polished out without professional honing and resealing.
Safe protocol for natural stone: 1. Use a pH-neutral stone cleaner such as Stone Care International Concentrated Stone Cleaner (Canadian Tire, ~2) diluted per label instructions 2. Spray onto tile and grout, let sit 2–3 minutes (this product is not acidic — longer dwell is safer) 3. Agitate grout lines with a soft nylon brush (not stiff bristles) 4. Wipe with a damp microfibre cloth, rinse with plain water, dry immediately 5. For calcium deposits: consult a stone restoration professional — attempting DIY descaling on marble with even mild citric acid will etch the surface
Grout Sealing — Annual Maintenance
Unsealed grout is porous and stains readily. A grout sealer fills the pores and creates a surface that resists water, soap, and mold for 12–18 months. Apply it annually after a deep clean when grout is completely dry.
Sealing test: Sprinkle a few drops of water on a clean grout line. If the water beads up, your sealer is still active. If the water absorbs immediately and darkens the grout, the sealer has expired — clean and reseal.
Application: 1. Deep-clean and dry the grout completely (minimum 24 hours in a well-ventilated bathroom) 2. Apply sealer with a small brush or applicator sponge along grout lines only 3. Let penetrate 5–10 minutes, wipe excess off tile face before it dries 4. Let cure 24 hours before wetting the surface
Recommended products at Home Depot / Réno-Dépôt Montreal: Aqua Mix Sealer's Choice Gold (~5, water-based, good for most colours), Mapei UltraCare Penetrating Plus (~0, urethane-based, darker grout colours).
TAL Move-Out: What the Civil Code Says About Grout
Under Quebec's Civil Code, Article 1854, tenants must return the dwelling in the same condition as received, allowing for normal wear and tear. For tile and grout, this creates nuanced obligations:
Normal wear — landlord cannot charge: - General darkening and discoloration of grout after years of use - Minor surface staining from water and soap scum - Micro-chipping of grout edges from routine floor traffic
Potential charges from landlord (document at move-in): - Mold resulting from neglected ventilation (tenant's responsibility to report and mitigate) - Cracked or missing grout from physical damage (dropping heavy objects) - Tile cracks from impacts
Key protection: Photograph all tile and grout at move-in. If grout was already dark or missing upon arrival, a timestamped photo prevents any dispute about the source of damage.
Tile and Grout Maintenance Schedule
| Frequency | Task | |---|---| | After each shower/bath | Squeegee walls, wipe sills; run exhaust fan 20 min | | Weekly | Spray tiles with diluted white vinegar (ceramic/porcelain); wipe down with damp cloth | | Monthly | Scrub grout lines with grout brush + baking soda paste | | Quarterly | Full tile deep-clean with citric acid solution (ceramic/porcelain) or pH-neutral (stone); treat any mold spots with hydrogen peroxide | | Annually | Apply grout sealer after deep clean and complete dry | | Move-out | Document condition with photos; address any mold patches and loose/missing grout before inspection |
When to Call a Professional
- Cracked or missing grout beyond surface staining: requires re-grouting (not a cleaning task)
- Etched marble/travertine from previous acidic product use: professional honing and resealing
- Persistent black mold despite repeated hydrogen peroxide treatments: possible substrate moisture issue requiring inspection
- Glazed ceramic tile hairline cracks: these admit water behind the tile; requires tile replacement
- Pre-war hexagonal tiles coming loose: original mortar bed drying out; professional re-setting required before water damage spreads
Professional tile and grout cleaning services in Montreal typically charge 50–50 for a full bathroom depending on size and grout condition. This includes hot-water extraction, professional-grade descaling, and resealing.
Frequently Asked Questions
Q: Can I use bleach on bathroom grout?
A:
Yes — on white or light-coloured cement grout and ceramic/porcelain tile only. A diluted bleach solution (1 part bleach to 10 parts water) is effective at killing mold and whitening stained grout. Do not use bleach on coloured or tinted grout (it strips colour permanently), on natural stone, or on epoxy grout. Always ensure adequate ventilation and wear gloves. In Montreal rental units with poor ventilation, use hydrogen peroxide instead — it is safer to breathe in a small bathroom and equally effective for surface mold.
Q: Why does my grout turn pink, not black?
A:
Pink or orange grout staining in a Montreal bathroom is almost always Serratia marcescens — an airborne bacteria that thrives in humid, poorly ventilated spaces. It is not dangerous to healthy adults but recurs rapidly without addressing the root cause (humidity). Spray 3% hydrogen peroxide on the stain, wait 10 minutes, scrub, rinse, and dry. Then focus on ventilation: run the exhaust fan for at least 20 minutes after every shower, or crack the bathroom door or window. If you don't have a functioning exhaust fan, report it to your landlord — under the DCC, all Quebec bathrooms must have mechanical ventilation.
Q: How do I remove the white hazy film on my bathroom tiles?
A:
That white film is mineral scale — calcium and magnesium deposited when Montreal's moderately hard tap water (90–150 mg/L) evaporates off the tile surface. Standard all-purpose cleaners do not dissolve it; you need an acidic descaler. For ceramic or porcelain tile: spray undiluted white vinegar on the hazy area, let sit 10–15 minutes, then scrub with a non-scratch pad and rinse. For heavier buildup, use citric acid solution (1 tsp per 500 ml warm water). For marble or travertine: never use acid — consult a stone restoration professional, as the haze may require professional polishing.
Q: How often should I seal my grout?
A:
For an active Montreal bathroom — daily showers in an older building — reseal grout once per year. The test is simple: sprinkle a few drops of water on dry grout. If it beads, the sealer is working. If it absorbs and darkens the grout immediately, the sealer has expired. Apply a penetrating grout sealer (Aqua Mix or Mapei, available at Home Depot and Réno-Dépôt) after your annual deep clean, once grout is completely dry (minimum 24 hours). Sealing dramatically reduces staining and makes weekly maintenance faster.
Q: My pre-war triplex bathroom has original hexagonal tiles that are coming loose — can I just regrout them?
A:
No — loose tiles indicate the original mortar bed beneath is failing, not just the surface grout. Regrouting the surface will not fix the bond between tile and substrate. If left unaddressed, water infiltrating loose tiles damages the subfloor and spreads the problem. In Montreal pre-war triplexes, the original mortar-set floors were designed to last a century with minimal maintenance, but once the mortar dries out and loses adhesion — often from water infiltration through deteriorated grout — professional re-setting is the only correct repair. Report loose tiles to your landlord promptly; in a rental, this is a structural maintenance issue under Civil Code Article 1854.
Q: Can I use a steam cleaner on my bathroom tiles?
A:
Yes, with important caveats. Steam cleaning is highly effective at sanitizing tile surfaces and loosening grout-line grime without chemicals — a good choice for eco-conscious Montreal renters. However, never use steam on natural stone (marble, travertine, limestone) — rapid temperature change can cause thermal shock and cracking, and the moisture penetrates stone pores, potentially causing efflorescence (white mineral bloom). On pre-war hexagonal tiles, use steam sparingly with a lower-temperature setting; original grout in 80+ year-old joints can become friable if repeatedly subjected to high steam pressure. For modern ceramic or porcelain tile, steam cleaning is fully compatible.

